The Customizer allows you to preview changes to your site before publishing them. You can navigate to different pages on your site within the preview as well as make global edits to your site's design settings.
NOTES:
- The customizer will now allow you to make copy changes to each page. To read an article on how to make individual page content edits,click here.
- You must be on a laptop or desktop computer to edit your website. Editing cannot be done from a mobile phone or tablet.
1. Websites
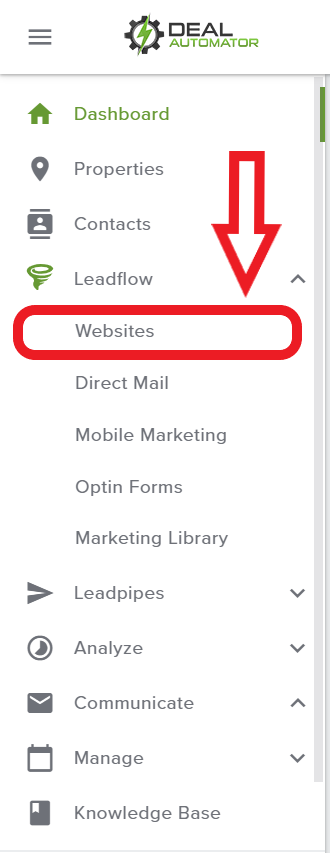
Once logged into your account go to Leadflow in the Side Navigation and in the drop-down menu select Websites
1. Navigate to Websites Section
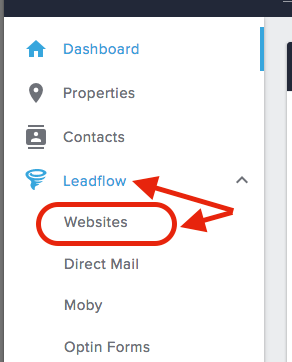
Once logged into your account go to Leadflow in the side navigation and in the drop-down menu select Websites
2. Select Edit Website
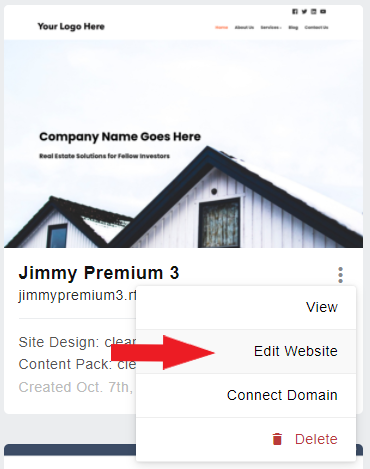
You will see an image preview for your site on the website's landing page. Select the 3 dot menu and click Edit Website
3. Click APPEARANCE
You will be taken to the WordPress dashboard, where you are able to customize your side from multiple locations.
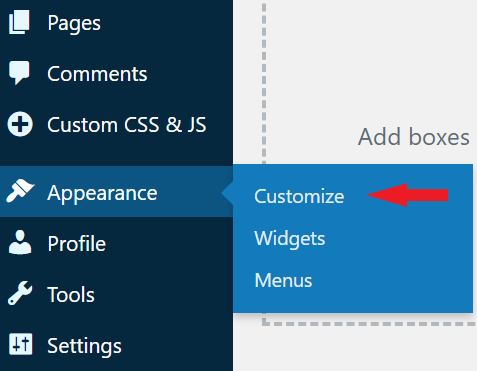
A. Click Appearance on the left navigation menu and then click Customize.
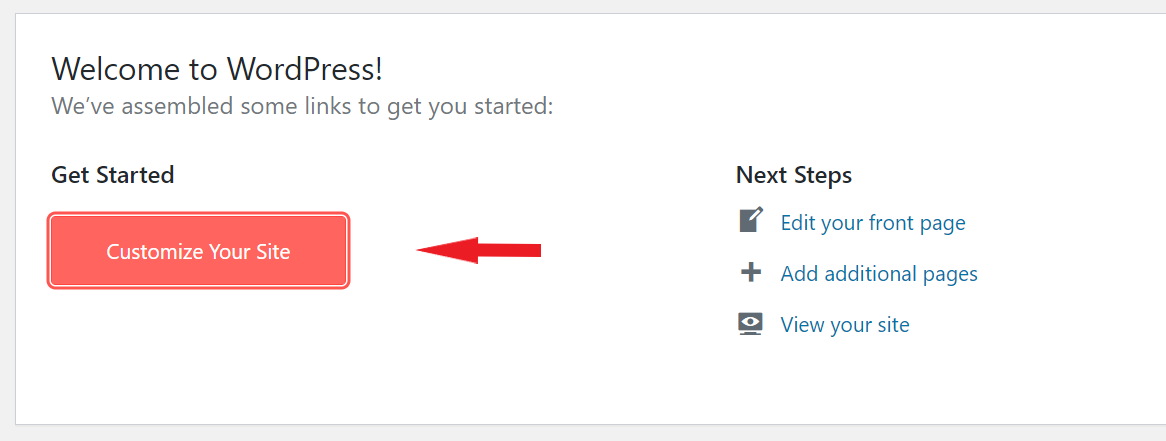
B. Click Customize Your Site from the main view on your dashboard.
C. Visit your website and click Customize from the top menu
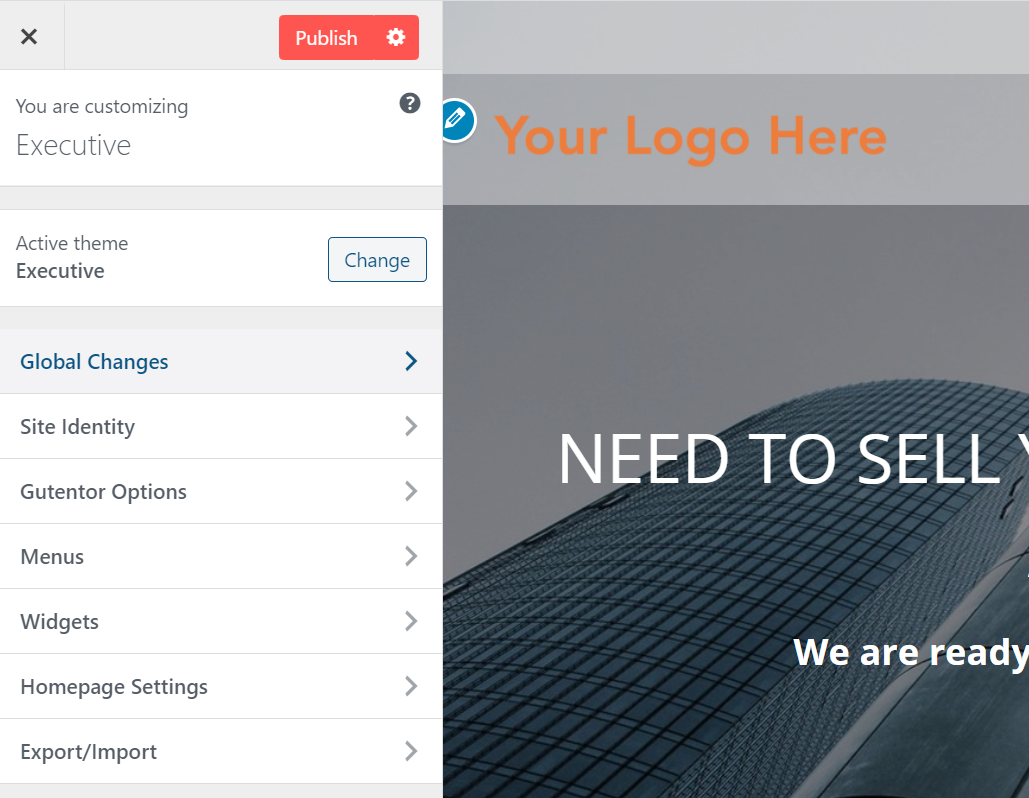
4. Click Global Changes
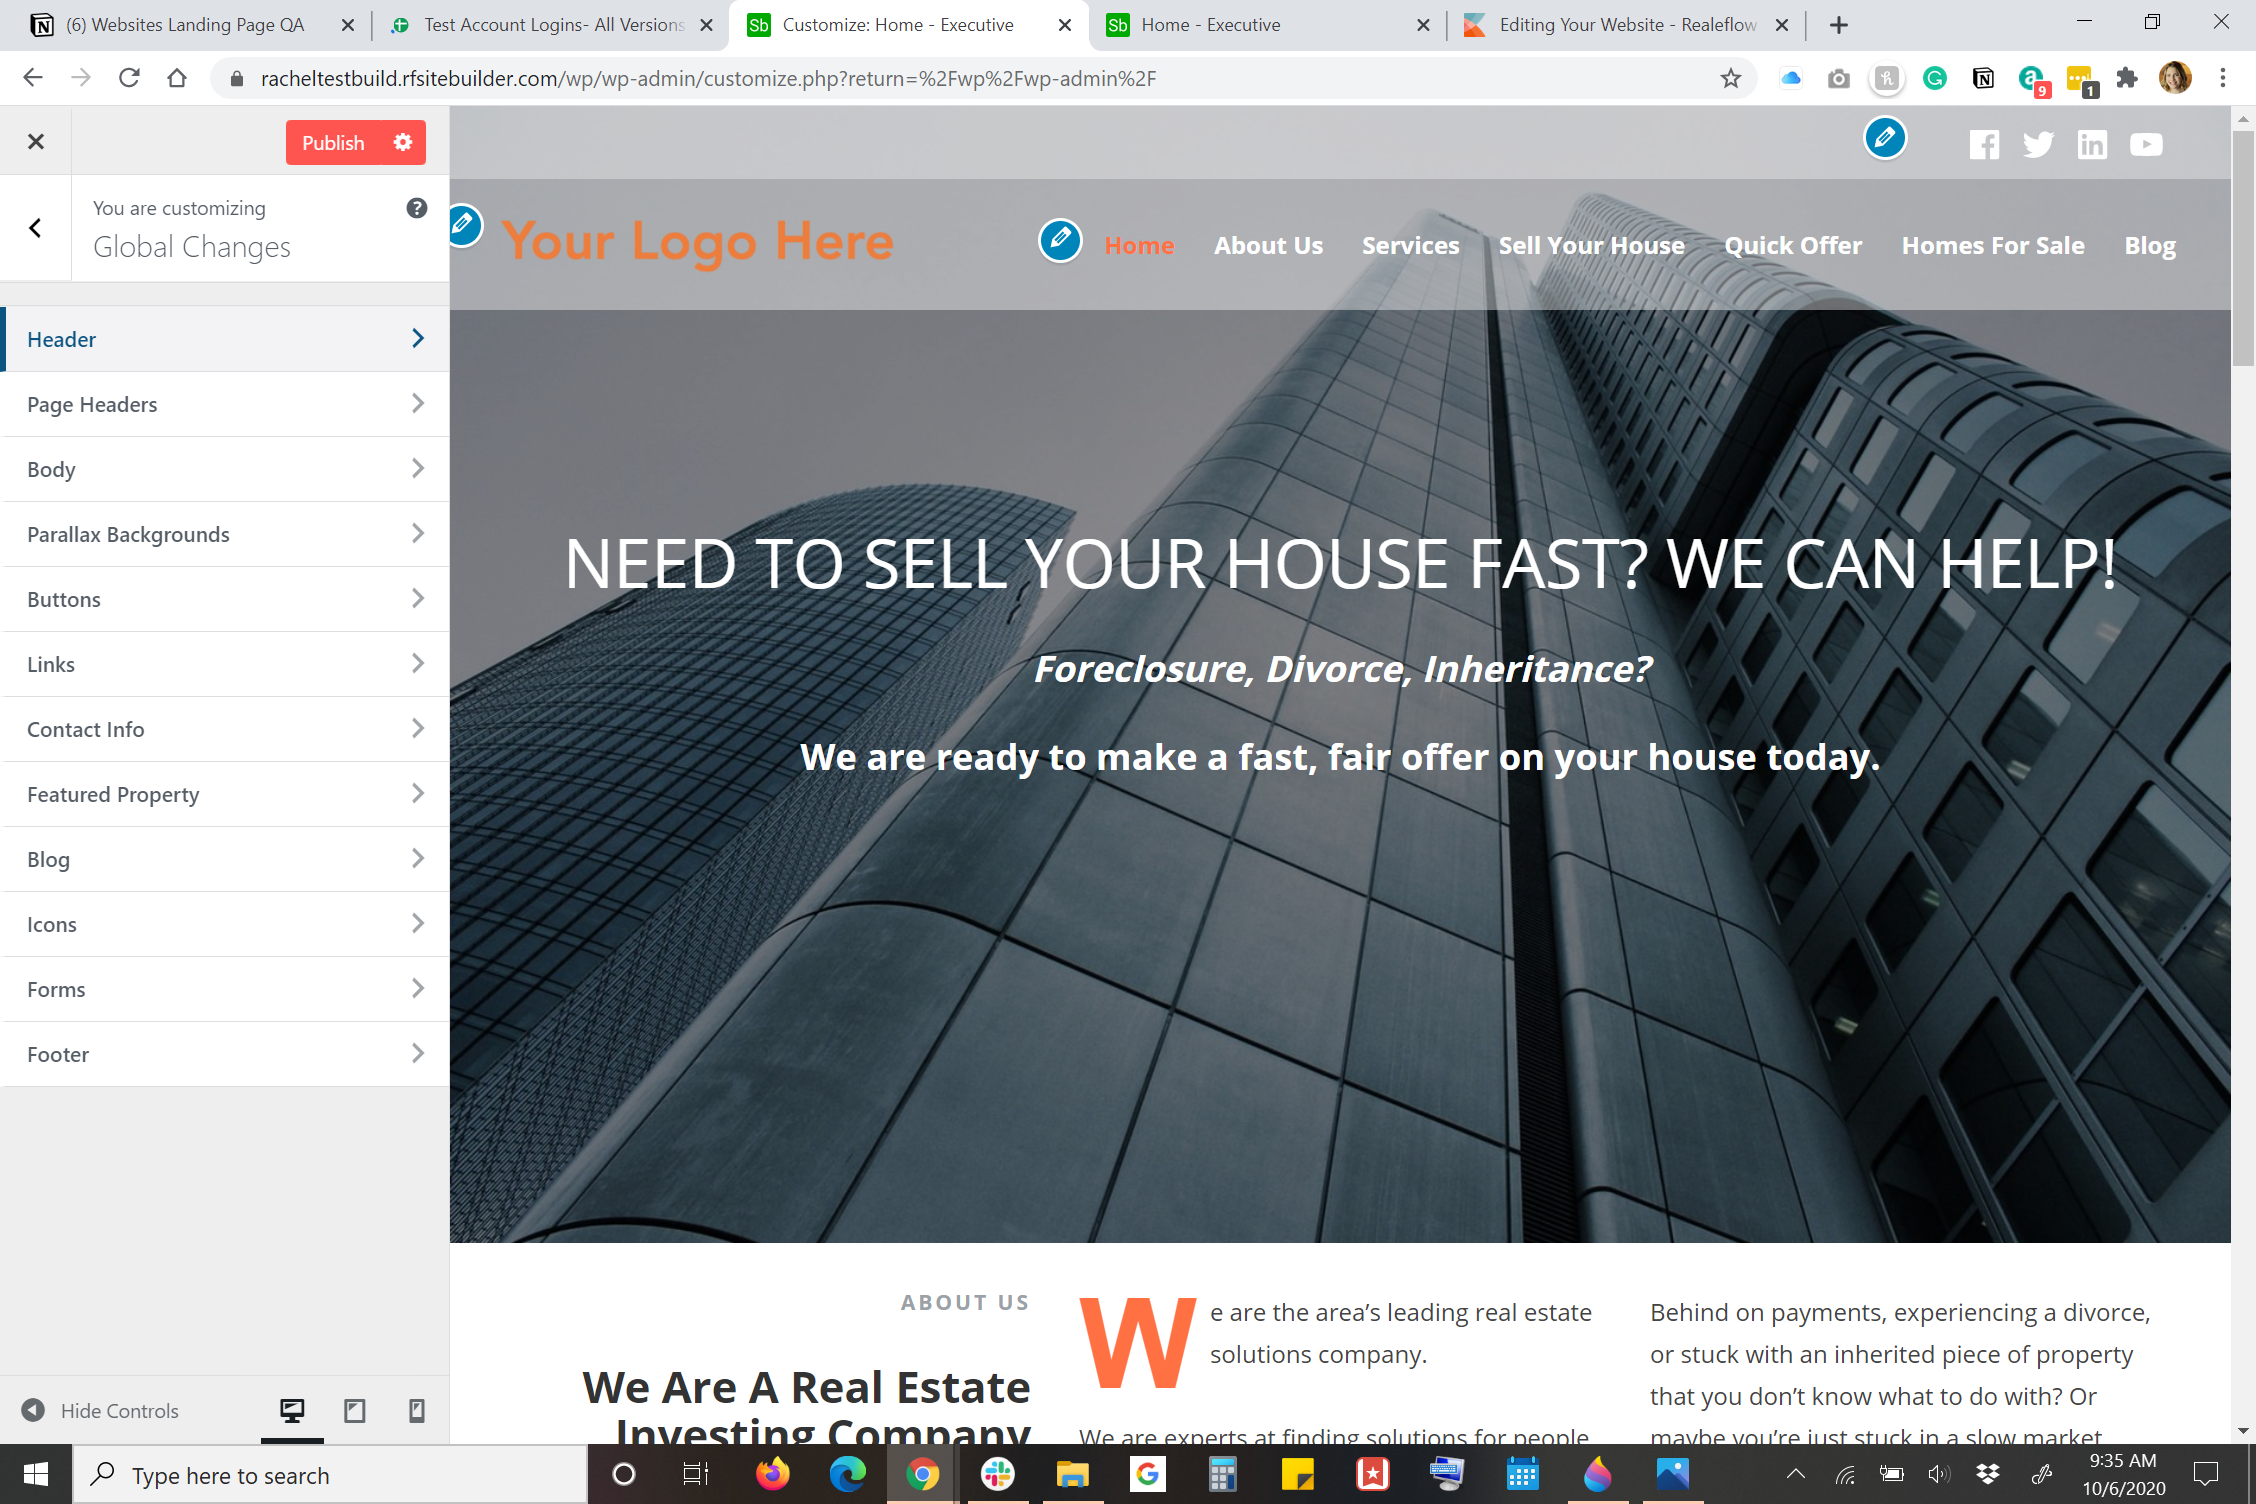
The customizer allows you to make global changes to your site's typography, custom colors, images, headers, buttons, etc...
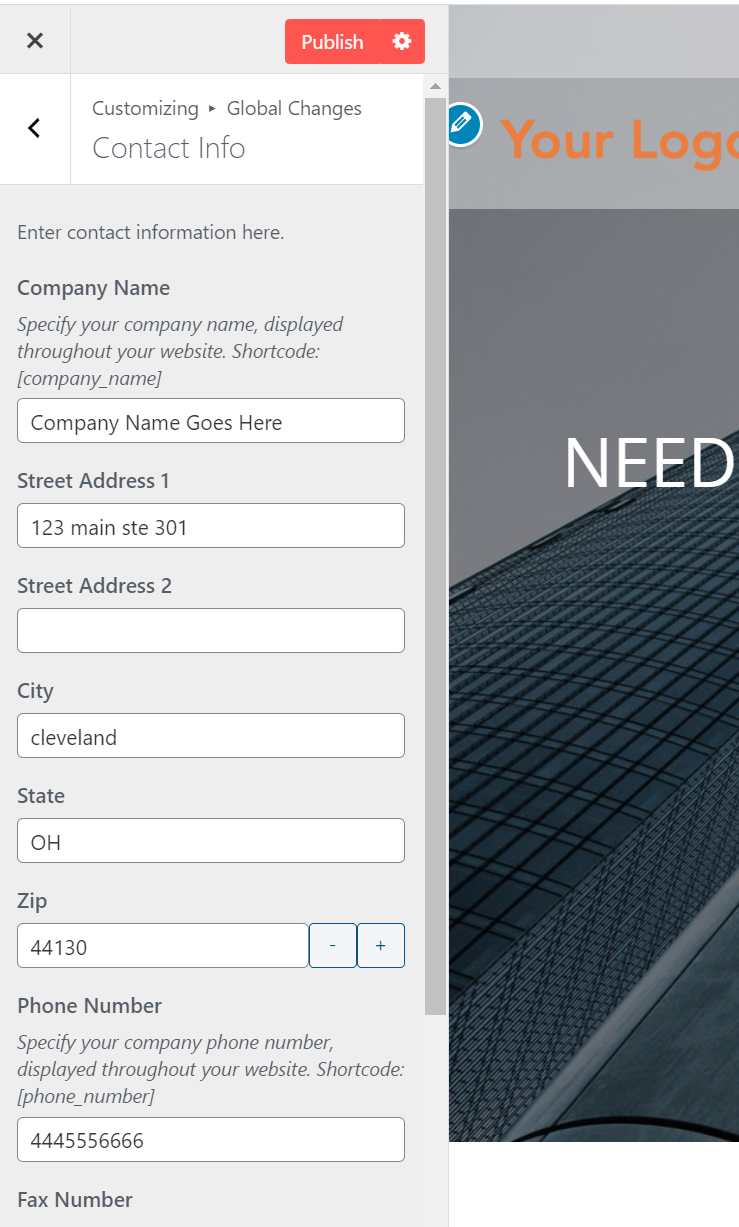
You are able to click into each section to make the global changes you would like. To edit your contact information and to view available shortcodes, click on the CONTACT INFO section.
5. Editing Your Logo, Site Title & Tagline
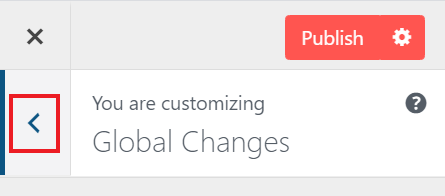
As you navigate through the customizer, you will back able to get back to the previous menu screen by clicking the back arrow as shown below. To get to the main customizer menu, click the back button until it is no longer visible.
Once you are back to the main menu, click on SITE IDENTITY.
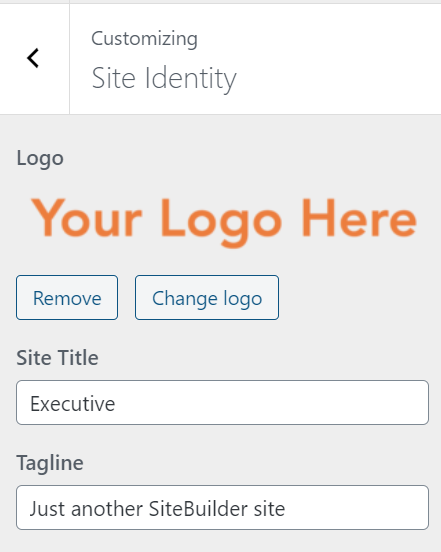
Here you are able to update your Logo and change your Site Title & Tagline as well.
6. Save Changes
Once you are happy with your changes, be sure to click PUBLISH at the top right to save your updates.


QA Team
Comments