This article is going show you how you can create a Rehab Plan, add Areas to the Rehab Planner and add Sections within those Areas. In both Areas and Sections you can add detailed Notes which will also be covered in this article.
**The Rehab Planner will auto-save any changes/updates made to it.
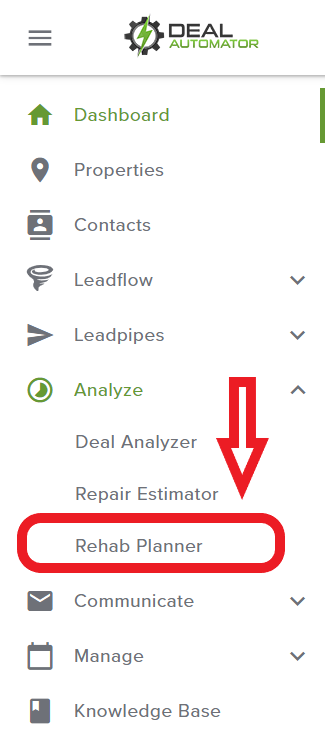
There are 2 ways to access the Rehab Planner to create a Scope of Work:
1. In the drop down menu for Analyze in the side navigation:
2. From within a Property file, under the Analyze section on the left hand side of your screen
How to Create a Rehab Plan (Scope of Work)
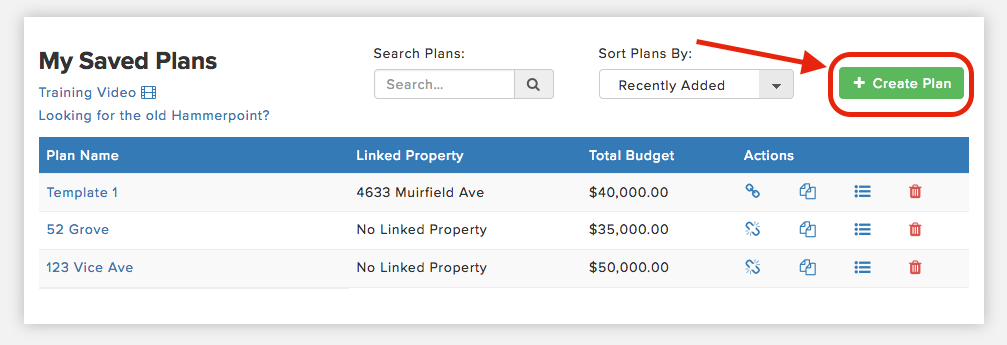
1. Click on 'Create Plan' when you arrive in the Rehab Planner tool
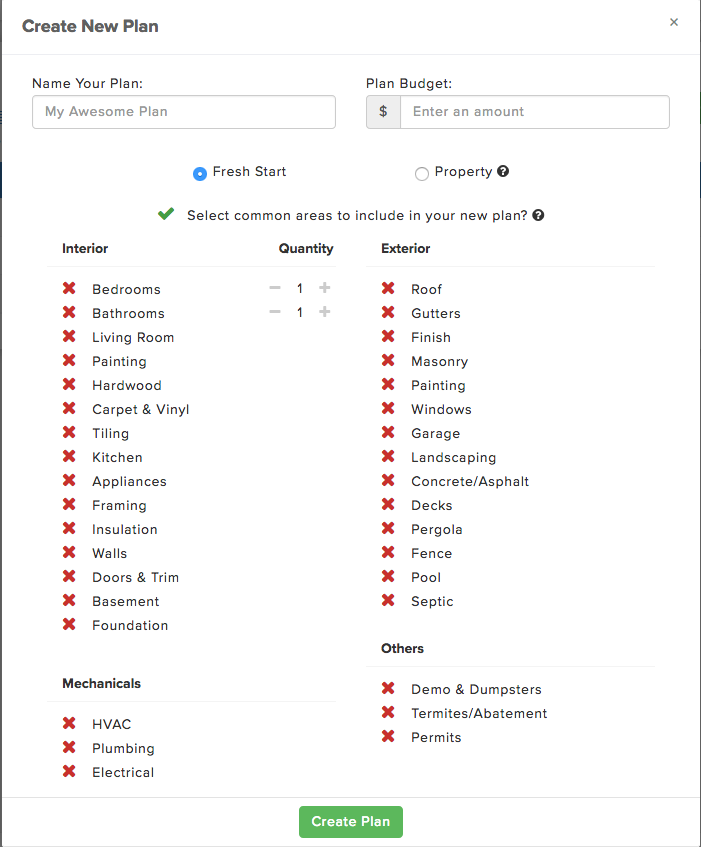
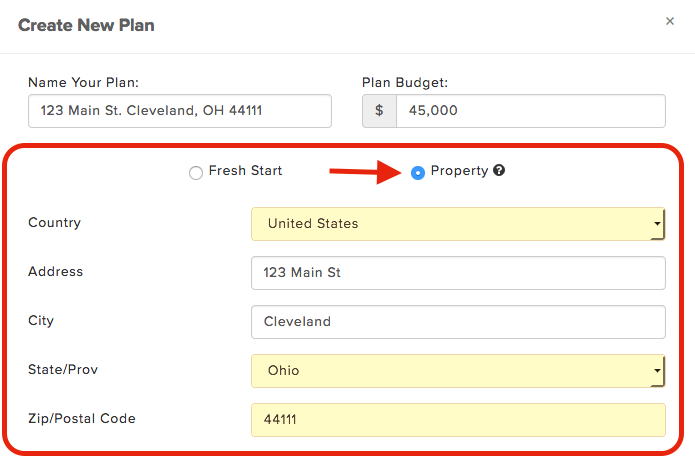
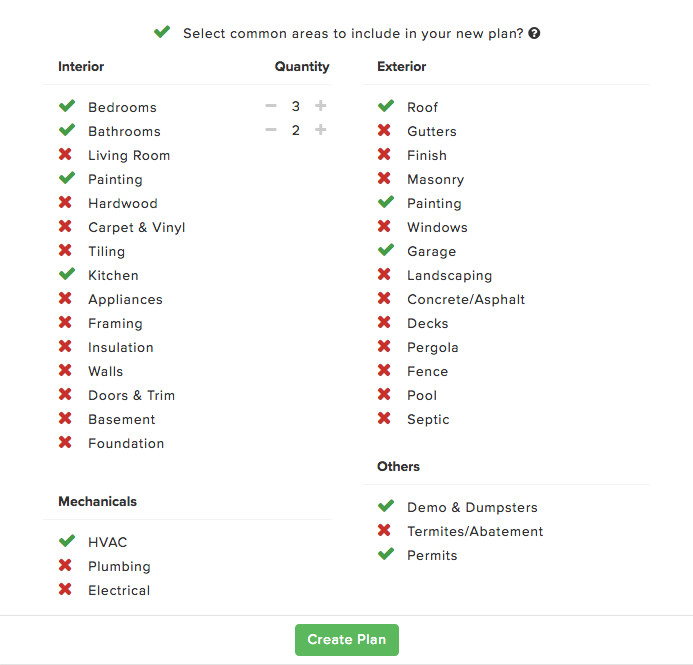
2. Next a pop up window will appear. Here is where you will be able to enter the Rehab Plan Name, Rehab Budget, Link it to a property file, and select different Areas to add to your Rehab Plan
3. Plan Name- We recommend putting the Property Address
4. Plan Budget- enter in the total budget (labor + materials) into this field
5. Link this to an existing property file in your account
Adding Areas to the Rehab Planner (Scope of Work)
** We have a Rehab broken down into 4 categories: Interior, Exterior, Mechanicals, and Other. You can add Areas to these categories which is shown how to below
1. In the Pop Up Window when creating a new Rehab Plan, select the common areas that need rehabbing to start building out the Scope of Work by checking off the different areas
**You can always manually add/remove Areas after this step
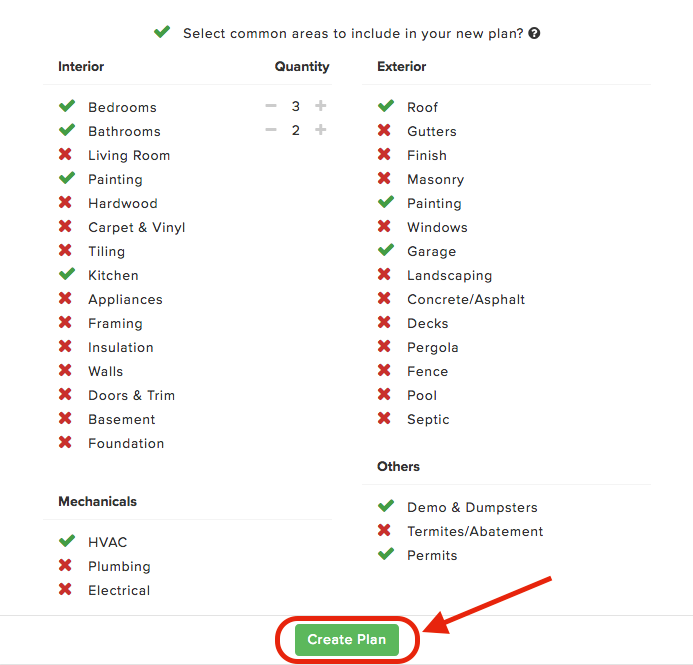
2. Next click on 'Create Plan' at the bottom of the pop up window
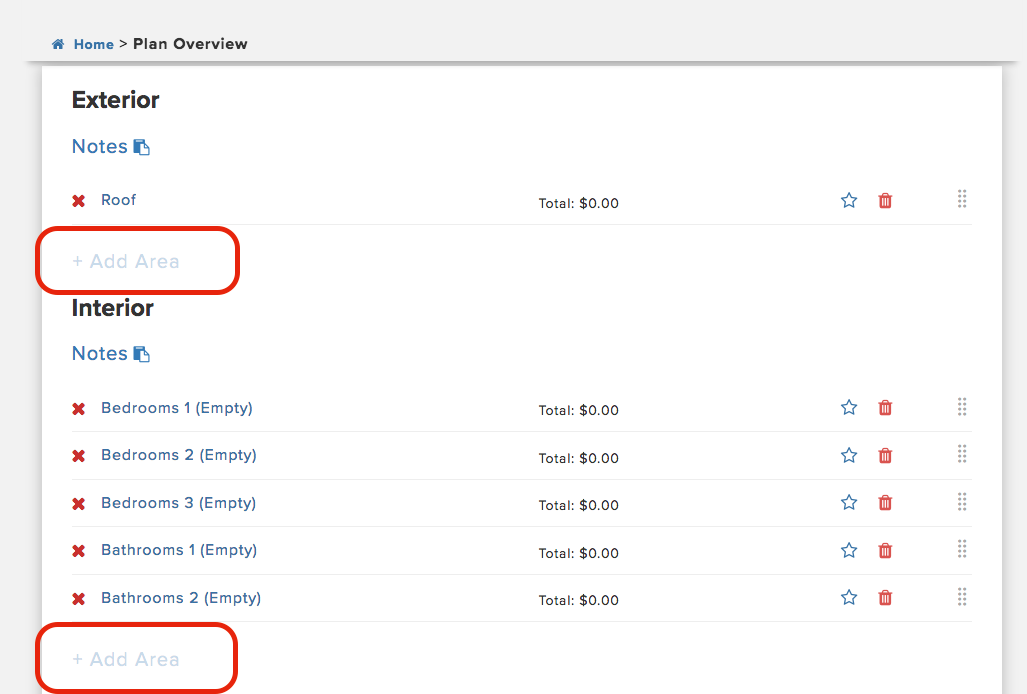
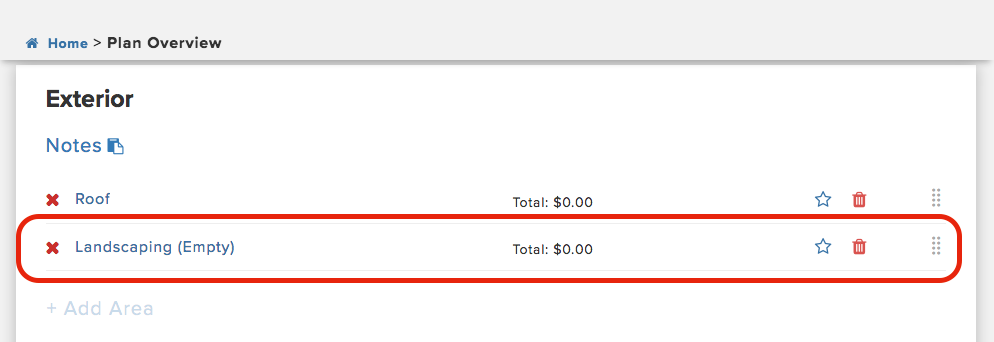
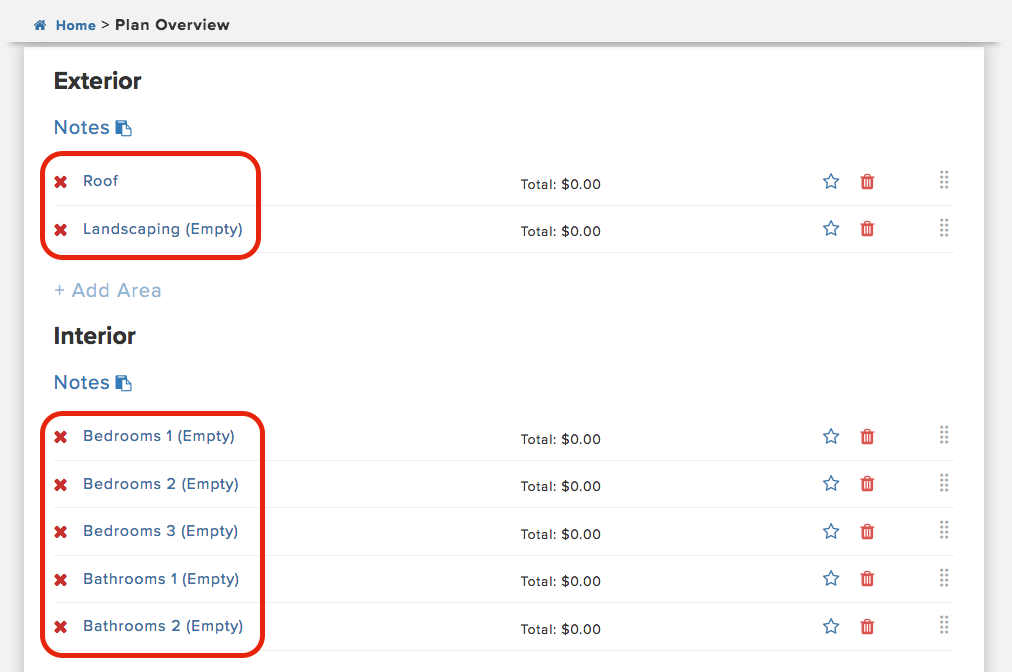
3. Once in the Rehab Planner, you will see all the areas you selected. You can now manually add new Areas to any category within the Rehab Plan by click on the 'Add Area' Section
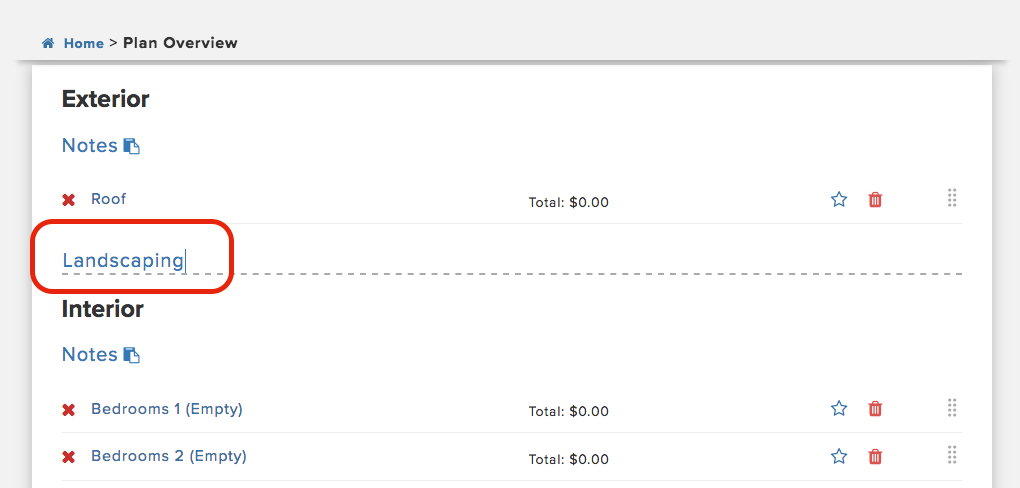
4. Next type in the name of the Area and hit Enter to add that Area
You can easily remove an Area by clicking on the 'garbage can icon to the right of the Area
Adding Notes to a Category: Interior, Exterior, Mechanical or Other
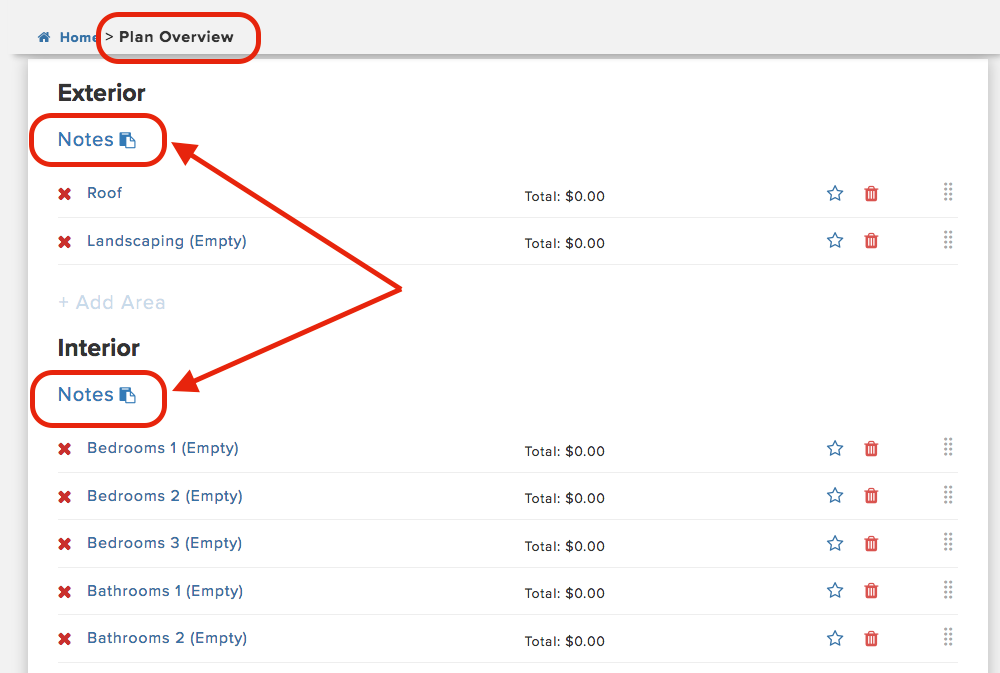
1. When in the Rehab Plan Overview, where you can view Categories and Areas, to add Notes to a Category click on the Notes section to open it up.
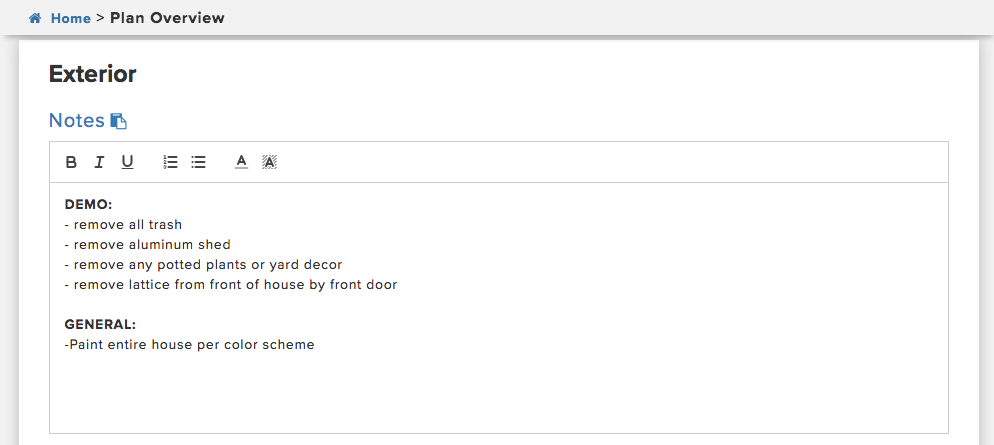
2. Next add your Notes, this will Auto-Save anything entered into the Notes
Adding Notes to an Area
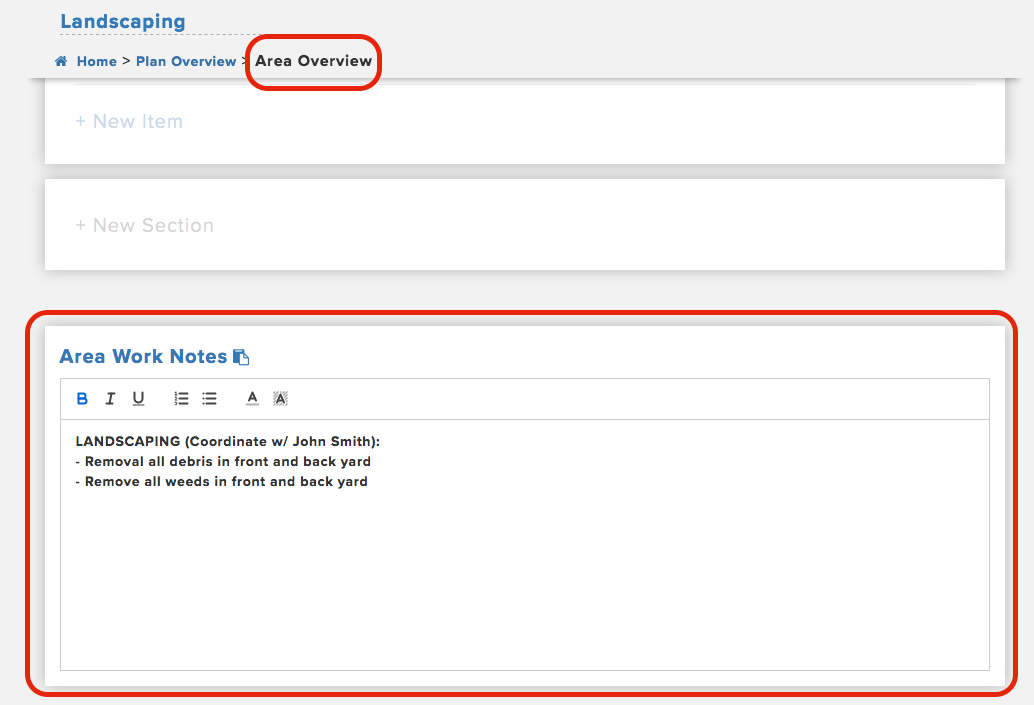
1. Click into the Area you would like to add Notes from the Plan Overview screen of the Rehab Planner to bring into the Area Overview
2. When in a specific Area (ex. Landscaping), you will be able to see a 'Area Work Notes' box to enter in any notes specific to that area




QA Team
Comments